


For the next six months, I'm going to delve deeply into Solana development. Although I've covered the theoretical aspects, I haven't yet built anything on top of it. Here, I'll share my learnings and everything I plan to explore and create. I'll be starting to build soon. Let's do it!
Introduction:
I've built things on the traditional web, which I enjoy the most. However, in the past few months, the term 'web3' has caught my attention. The amazing communities, people, and much more have drawn me in. So, I decided to dive into this realm, grasping the theoretical concepts, and it's been quite exciting. I've delved into web3, reading blogs on Blockchain, Ethereum, Solana, NFTs, and more.
Just learning theory isn't enough. I believe in learning by doing. Although I want to create projects on the blockchain, I didn't know where to start. That's when I decided to carve my own path. So, after some research, I found a this OG video and this OG course on front-end Solana development.
I'll be documenting my journey and insights from these tutorials. Additionally, I plan to utilize extra resources like the Calyptus Solana dev course and Soldev.app.
In this blog, I'll mainly focus on the learnings from video 1 of Solana Frontend Developer Course by helius, which covers setting up the Solana development environment, and also outline the path I'll be taking on this journey. So, let's get started.
Getting Started:
Let's breakdown Solana Development into two main components:
1. Frontend.
2. Backend.
Frontend - User facing app that interact with on-chain program/data.
Backend - Programs and other technologies that handel application bussiness logic.
The backend in Solana development includes the code and infrastructure responsible for processing data, executing smart contracts, and managing interactions with the Solana blockchain. It often involves tasks such as handling transactions, storing and retrieving data from the blockchain, and executing business logic using smart contracts or other backend code.
Example - Web developers create Api to interact to data in database.
Tech stack:
The tech stack I'm going to use on this Development journey:
Frontend:
Building a Dapp frontend is a lot similar to building a standard web 2 frontend.
Most popular Solana applications are developed using modern frontend tools such as:
Nextjs/React
Typescript
Tailwind css
@solana/web3.js
NB: You can also use other Frameworks like vue.js, angular and etc.
Web3 applications use special tooling and libraries to query and interact with blockchain state. Whether it's interacting with a smart contract via Solana Web3.js or querying a blockchain state via a Helius API.
Backend:
You can pick any technologies to write smart contract like python with seahorse framework, solidity using solang framework or C/C++.
But the most popular Tools (Tech stack) such as:
Rust programming language.
Anchor
Solana CLI
But why Rust?
Rust is popular for Solana development because it offers high performance, safety, and concurrency support, aligning well with Solana's requirements. Additionally, Rust has a strong ecosystem and community support, making it an ideal choice for building Solana applications.
Setting Up the Development Environment:
Now Lets get to the main purpose of this blog installing development environment.
Install these dependencies, and make sure to scroll down on Notion to get the links for all of them.
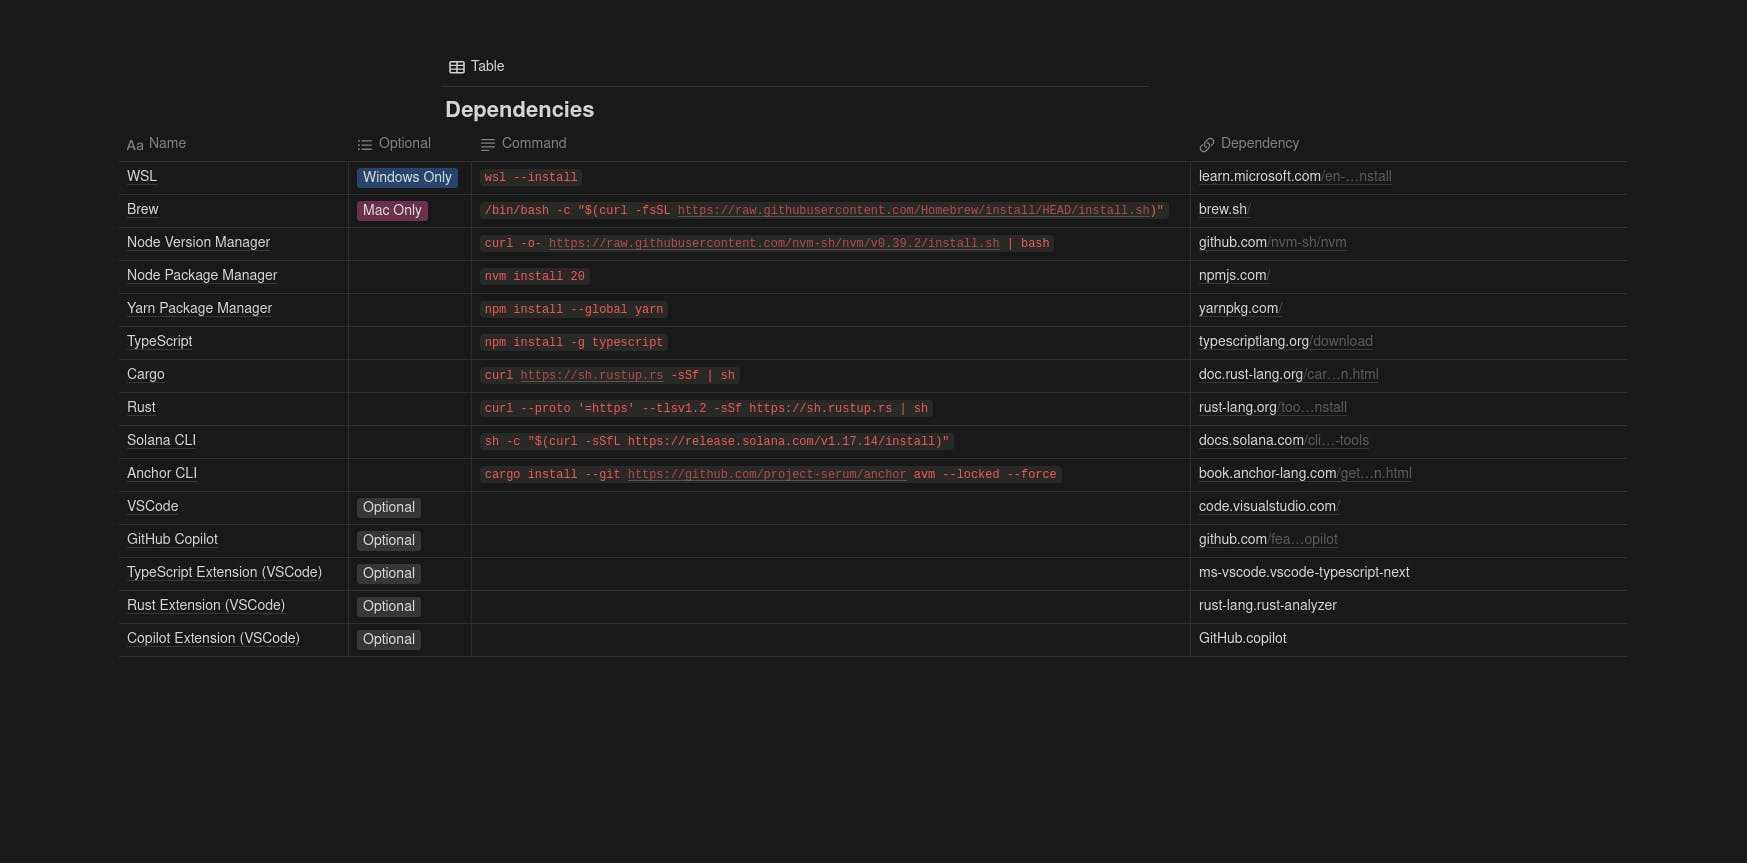
If you've worked on traditional web apps before, you're probably familiar with NVM, NPM, Yarn, and TypeScript. And if you happen to be using Windows—which you really shouldn't be—consider either uninstalling that wasteful, bulky, and useless OS or installing WSL. Alternatively, if you're a macOS user, you can install Brew.
And these might be some new terms for you if you're a newbie:
Cargo - It's like node package manager for rust app. it's lets you to install, create dependency useful for building Rust Applications.
Solana CLI - It is a powerful and most important tool for interacting with the Solana network through the command line.
Anchor CLI - Provided to support building and managing an Anchor workspace.
Anchor is a framework for Solana's Sealevel runtime providing several convenient developer tools for writing smart contracts.
Setting up Project from GitHub:
It's a hands-on course for Solana frontend development. We'll create projects at each step, and that's what I love most about it.
Step 1 - Clone this project locally.
Step 2 - Navigate to the project directory and type yarn to execute the command.
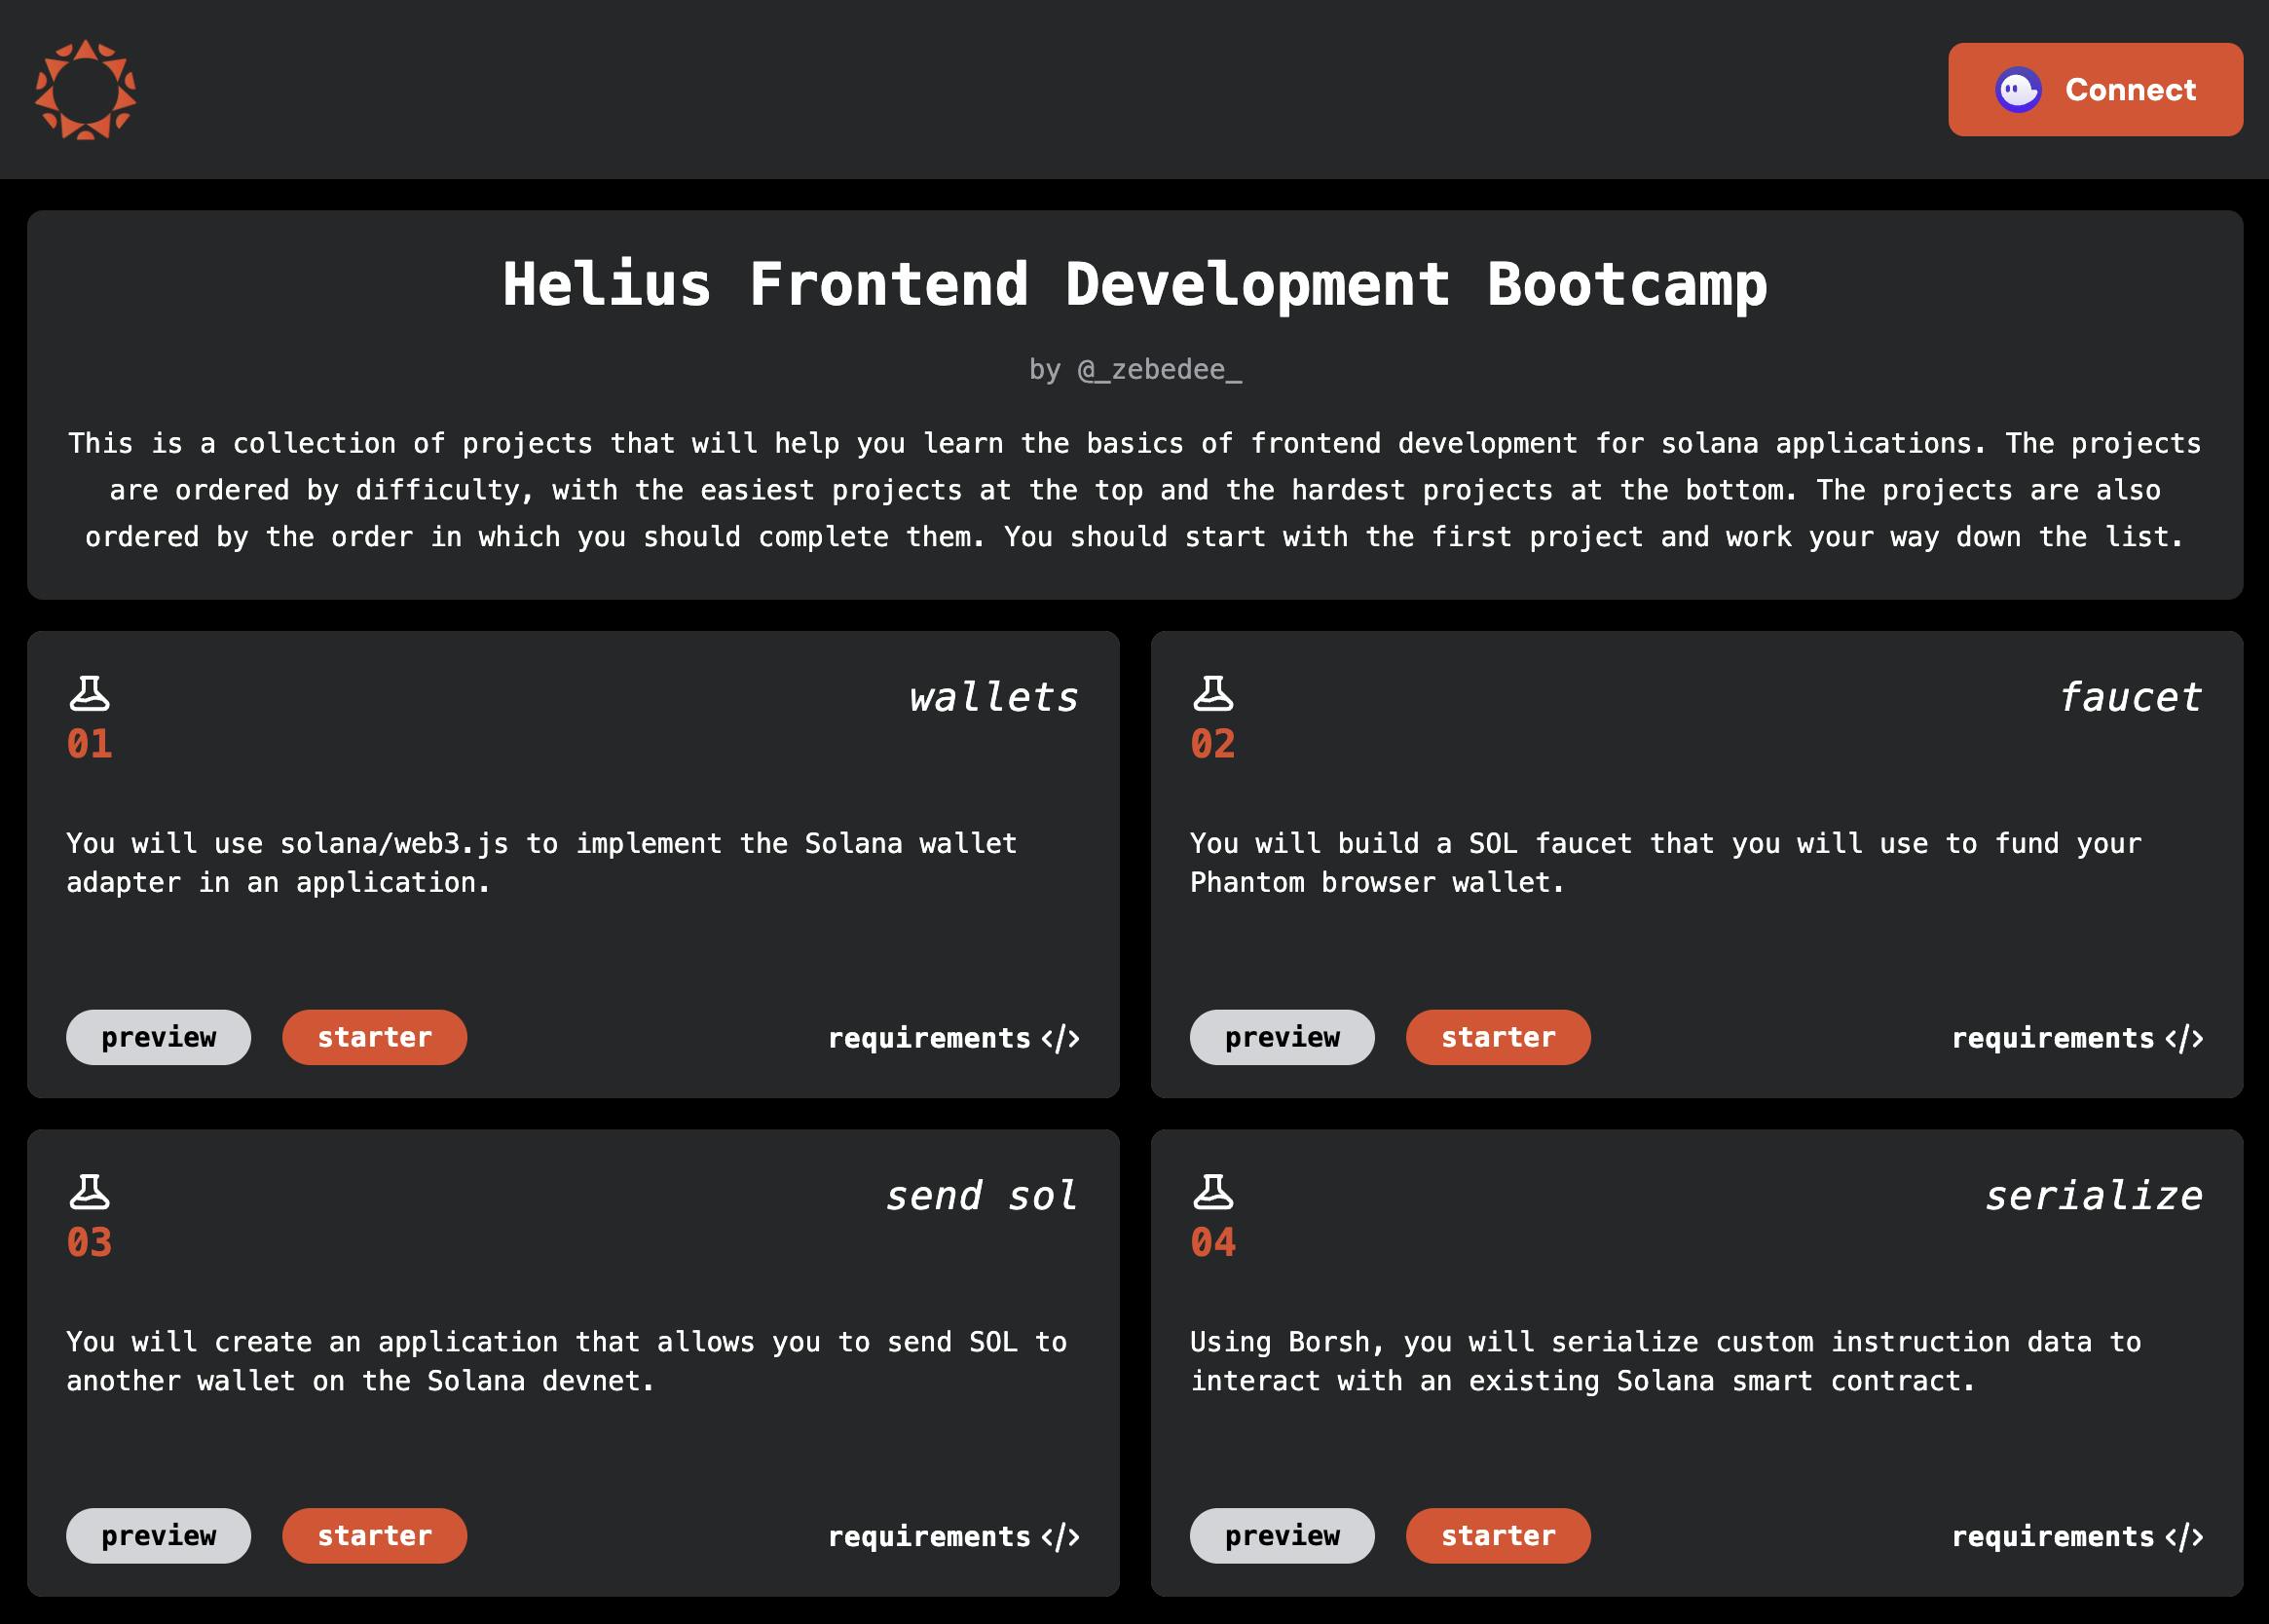
Step 3 - Now that all dependencies are installed, it's time to run the project locally. Simply enter the command yarn dev to initiate it.
Head over to localhost:3000 in your web browser, and you'll see the app displayed as shown in the image.
Once you've completed the steps successfully, proceed to connect the project with your wallet.
Setting up Wallet:
If you already have a wallet, you can skip this part. Otherwise, it will only take a few minutes to create your wallet, and it's very straightforward.
Step 1 : Add the Phantom or Backpack extension to your browser.
Step 2 : Create your wallet account.
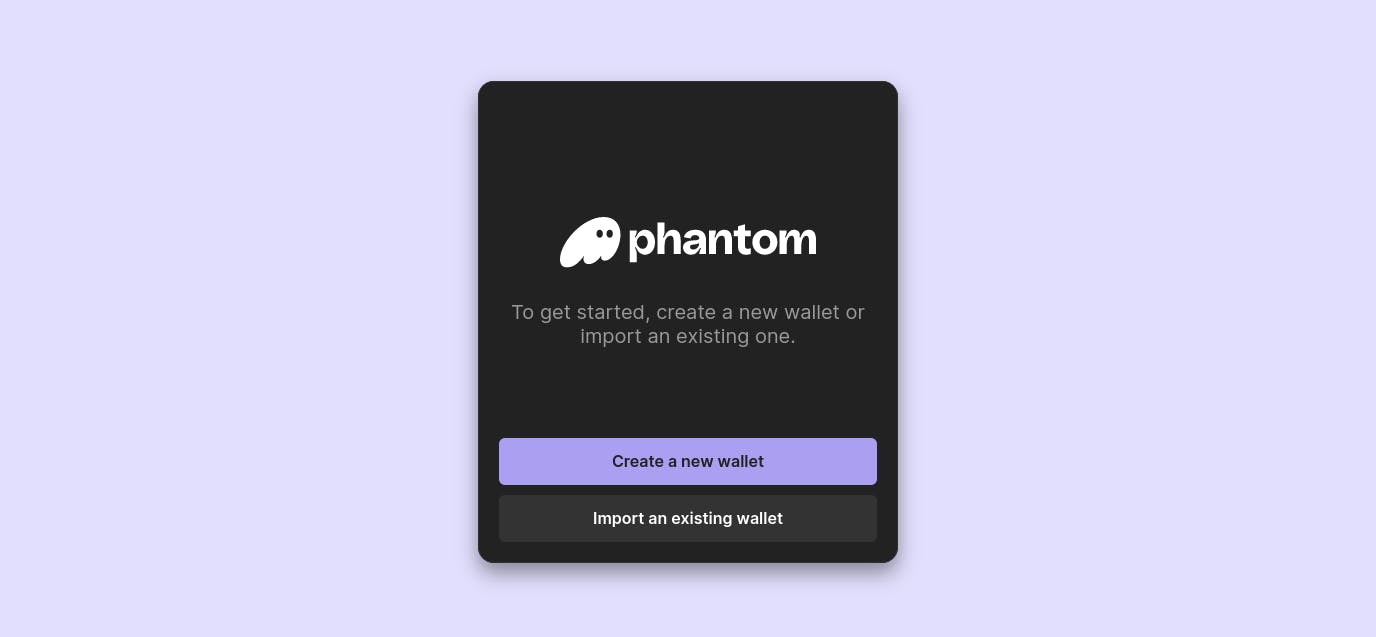
Step 3 : After creating an account, the next step is to securely save the secret key.
That's it! Your wallet is created. It's as simple as that.
Getting Devnet SOL:
We're going to use Devnet Solana Tokens, essentially monopoly money that developers use for testing and building their applications.
To obtain Devnet Solana tokens, first, navigate to settings > Developer Settings. Ensure that Testnet Mode is enabled and that you are connected to the Solana Devnet.
If you've created a new account, you'll currently have 0 Devnet Solana Tokens. To obtain Devnet Solana Tokens:
Use the Solana CLI to run this command and obtain some Devnet Solana Tokens solana airdrop 1 <your public address> .
Great! You now have 1 Solana Devnet token in your wallet.
Keep in mind that the Devnet airdrop is capped at 2 Sol per request, and there's a fixed time limit, typically around 5 seconds, though it may vary slightly.
Conclusion:
If you've made it this far, thank you for investing your valuable time. And if you're new to this, congratulations on setting up your Solana development environment and creating your wallet. In this blog, I aimed to share what I learned from the first video of the course, explaining as much as I could. I may not be a great writer now, but I'm committed to learning and improving. Stay tuned for my next blog on this journey. Let's learn and build together! WAGMI 🚀